top of page
MiHa
Company LLC
HOME
MANUFACTURERS
ABOUT
THINGS TO THINK ABOUT
PRODUCT
UPCOMING TRADE SHOWS
CONTACT
VIDEOS
PRIVACY POLICY
Log In
Demonstration Videos
Demonstration
Videos
Demonstration
Videos
Demonstration
Videos
Share
Whole Channel
This Video
Facebook
Twitter
Pinterest
Tumblr
Copy Link
Link Copied
EZ CONCEPT
Play Video
Play Video
01:39
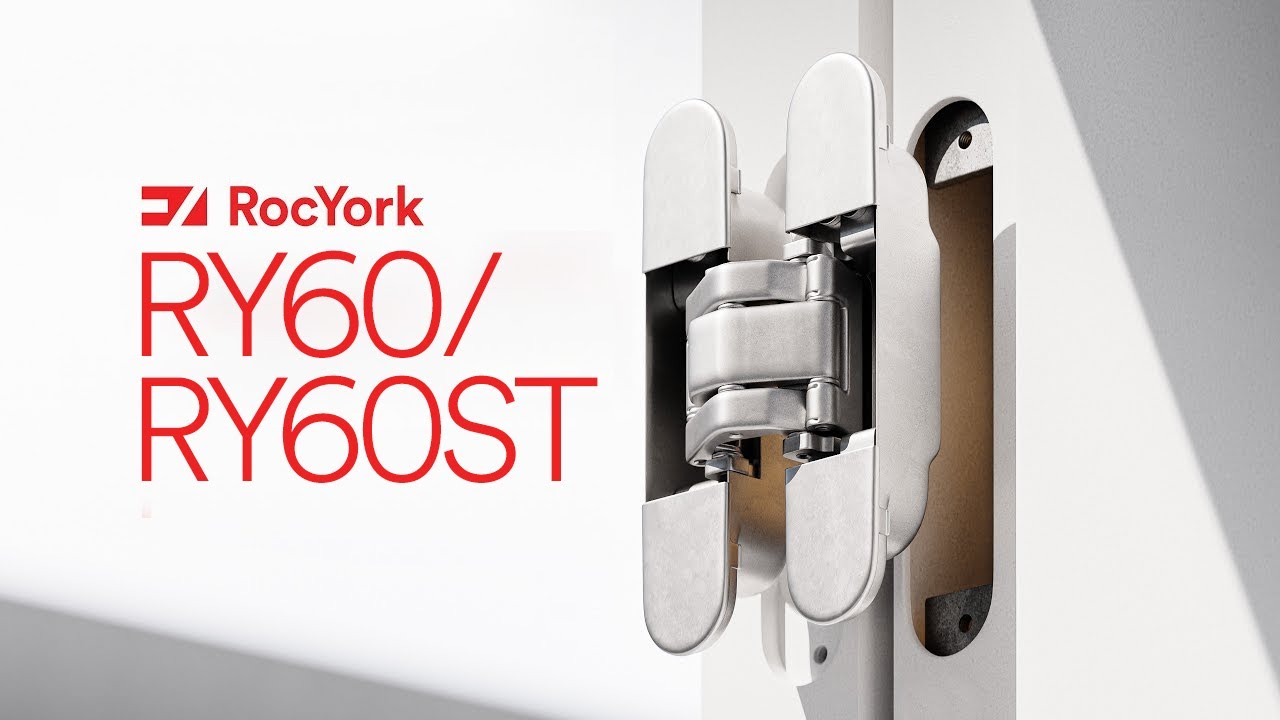
RocYork RY60/RY60ST Concealed Hinges Installation Guide
Uninterrupted clean lines around internal doors for the ultimate square-set interior. Able to be adjusted in three directions to align door margins, RocYork Concealed Hinges make door hardware disappear. *For the hinge adjustment step; in case the panel weight is close to the maximum loading capacity, we suggest to use a wooden wedge under the panel. For more: AU: https://ezconcept.com.au/products/rocyork/concealed-hinges/ US: https://ezconcept.com/products/rocyork/concealed-hinges/ UK: https://ezconcept.co.uk/products/rocyork/concealed-hinges/
Play Video
Play Video
01:25
EzyJamb Flush Door Frames
Elegance in simplicity. Clean lines frame modern spaces with EzyJamb - discover the range of distinct profiles at the following sites: AU - https://ezconcept.com.au/products/ezyjamb/ US - https://ezconcept.com/products/ezyjamb/ UK - https://ezconcept.co.uk/products/ezyjamb/
Play Video
Play Video
01:02
The EzyPelmet Recessed Window Pelmet
Building a home with recessed lighting or window pelmets? EzyPelmet is the two-piece steel pelmet system crafted for simple installation and lasting endurance.
Play Video
Play Video
02:04
EzyJamb Classic Adjust (EZC) Installation Guide
Learn how to install the EzyJamb Classic Adjust Door Jamb, an adjustable flush finish door frame system designed to deliver clean lines, precise fitment, and a seamless architectural appearance. In this video, you will learn how to prepare openings, assemble the EzyJamb Classic Adjust Door Jamb, install concealed hinge cut-outs, align the frame, and achieve a professional flush finish installation. EzyJamb Classic Adjust Door Jamb System: AU: https://ezconcept.com.au/products/ezyjamb/ezyjamb-classic-adjust-ezc/ US: https://ezconcept.com/products/ezyjamb/ezyjamb-ezc/ EzyJamb Classic Adjust Door Jamb Installation Guide: AU: https://ezconcept.com.au/wp-content/uploads/sites/4/2021/10/EzyJamb-EZC-Installation-Instructions-EZ_AU_II_0425.pdf US: https://ezconcept.com/wp-content/uploads/sites/5/2021/10/EzyJamb-EZC-Installation-Instructions-US_0626.pdf TIMESTAMPS: 0:00 - Introduction to the EzyJamb Classic Adjust System 0:08 - Checking Components, Hardware & Opening Dimensions 0:25 - Preparing the Opening and Strike Plate Location 0:32 - Creating Cut-Outs for RocYork Concealed Hinges 0:41 - Joining and Installing the Hinge Side Jamb 0:59 - Assembling and Installing the Header Section 1:06 - Level Checks and Jamb Fixing Requirements 1:22 - Installing the Closing Side Jamb 1:38 - Final Alignment and Spacing Verification 1:46 - Hanging the Door and Testing Fitment 1:55 - Preparing the Jamb for Taping and Mudding 2:02 - EzyJamb Flush Finish Door Frames Overview 2:07 - Outro ABOUT THIS VIDEO: This step-by-step installation guide demonstrates how to install the EzyJamb Classic Adjust Door Jamb, an adjustable flush finish door frame system designed for modern residential and commercial projects. Learn how to verify opening dimensions, assemble the jamb, create hinge cut-outs, align frame components, and prepare the system for a seamless finishing process. Ideal for builders, architects, contractors, and renovators, the EzyJamb Classic Adjust Door Jamb provides a clean, trimless door frame solution that eliminates traditional architraves. Discover how flush finish door frames, concealed hinges, and precise installation techniques contribute to a contemporary architectural aesthetic with superior finishing results. CONNECT WITH US: Website: https://www.ezconcept.com Instagram: https://instagram.com/ez_concept LinkedIn: https://linkedin.com/company/ezconcept Facebook: https://facebook.com/Ezyjamb Twitter: https://twitter.com/EzConceptGlobal #EzyJambClassicAdjustDoorJamb #FlushFinishDoorFrame #TrimlessDoorFrames
Play Video
Play Video
02:17
EzyJamb Inswing (ISD) Installation Guide
Learn how to install a flush finish door frame system that delivers clean lines, concealed detailing, and a seamless architectural finish. In this video, you will learn how to prepare openings, install the EzyJamb Inswing Door Jamb, fit concealed hinges, ensure accurate alignment, and achieve a professional square set result. EzyJamb Inswing Door Jamb System: AU: https://ezconcept.com.au/products/ezyjamb/ezyjamb-inswing-door-isd/ US: https://ezconcept.com/products/ezyjamb/ezyjamb-isd/ EzyJamb Inswing Door Jamb Installation Guide: AU: https://ezconcept.com.au/wp-content/uploads/sites/4/2021/10/EzyJamb-ISD-Installation-Instructions-EZ_AU_II_1025.pdf US: https://ezconcept.com/wp-content/uploads/sites/5/2021/10/EzyJamb-ISD-Installation-Instructions-US_0626.pdf TIMESTAMPS: 0:00 - Introduction to the EzyJamb Inswing System 0:03 - Checking Components, Hardware & Opening Requirements 0:23 - Preparing the Opening and Strike Plate Location 0:33 - Creating Cut-Outs for RocYork Concealed Hinges 0:40 - Installing the Head Jamb and Hinge Side Stile 0:52 - Aligning the Jamb for a Level Flush Finish 1:03 - Installing the Closing Side Stile 1:09 - Checking Level, Square and Consistent Opening Width 1:18 - Securing the Jamb with Correct Fastening Points 1:33 - Installing the Strike Plate and Dust Box 1:40 - Final Jamb Alignment and Quality Checks 1:45 - Preparing the Door and Concealed Hinge Cut-Outs 1:57 - Hanging the Door and Testing Fitment 2:02 - Removing the Door for Taping and Mudding 2:10 - EzyJamb Flush Finish Door Frames Overview 2:15 - Summary & Outro ABOUT THIS VIDEO: This step-by-step installation guide demonstrates how to install the EzyJamb Inswing Door Jamb to achieve a flush finish door frame without traditional architraves. Learn best practices for opening preparation, frame assembly, concealed hinge integration, door fitment, and final alignment to ensure a premium architectural finish. Ideal for builders, architects, contractors, and homeowners, the EzyJamb Inswing Door Jamb creates seamless transitions between walls and doors while supporting modern interior design principles. Discover how flush finish door frames and concealed hinges can transform residential and commercial spaces with clean, minimalist detailing. CONNECT WITH US: Website: https://www.ezconcept.com Instagram: https://instagram.com/ez_concept LinkedIn: https://linkedin.com/company/ezconcept Facebook: https://facebook.com/Ezyjamb Twitter: https://twitter.com/EzConceptGlobal #EzyJambInswingDoorJamb #FlushFinishDoorFrame
Play Video
Play Video
00:44
A Look Inside The Johnnie Walker Experience, Edinburgh
Learn more about this project at https://ezconcept.co.uk/projects/john... EZ Concept is pleased to have helped accomplish this astonishing architectural concept. The minimalist door and riser doors openings here were formed with the EzyJamb and AccessDor systems respectively – aesthetically complementing the sleek design of the interior.
Play Video
Play Video
02:03
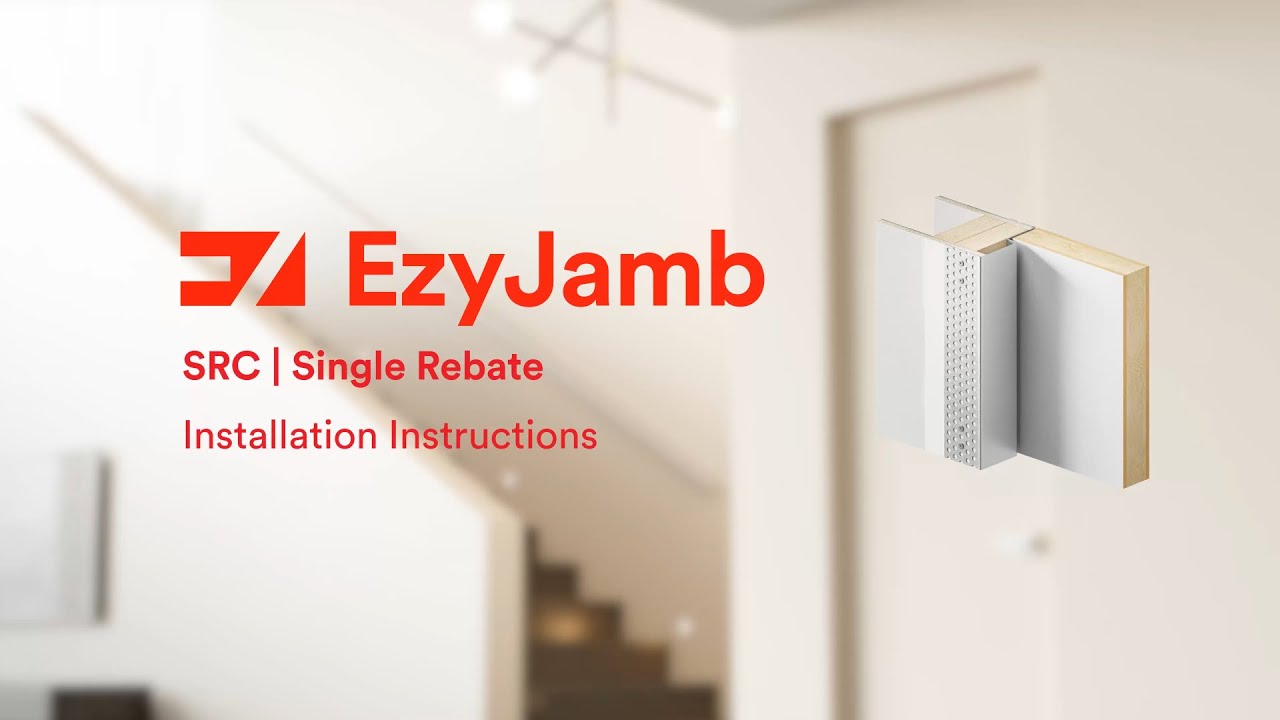
EzyJamb Single Rebate (SRC) Installation Guide
Discover how to install the EzyJamb Single Rebate Door Jamb, a premium flush finish door frame that delivers clean architectural lines and a seamless modern appearance. In this video, you will learn how to prepare openings, install the EzyJamb Single Rebate Door Jamb, fit concealed hinges, align door frames accurately, and achieve a professional flush finish result. EzyJamb Single Rebate Door Jamb System: AU: https://ezconcept.com.au/products/ezyjamb/ezyjamb-single-rebate-src/ US: https://ezconcept.com/products/ezyjamb/ezyjamb-src/ EzyJamb Single Rebate Door Jamb Installation Guide: AU: https://ezconcept.com.au/wp-content/uploads/sites/4/2021/10/EzyJamb-SRC-Installation-Instructions_EZ_AU_II_1025.pdf US: https://ezconcept.com/wp-content/uploads/sites/5/2021/10/EzyJamb-SRC-Installation-Instructions-US_0626.pdf TIMESTAMPS: 0:00 - Introduction to the EzyJamb Single Rebate Door Frame 0:04 - Checking Sizing, Hardware and Opening Requirements 0:22 - Preparing the Opening and Strike Plate Location 0:35 - Creating Cut-Outs for RocYork Concealed Hinges 0:43 - Installing the Head Jamb and Side Jambs 0:53 - Checking Plumb, Level and Square Alignment 1:05 - Verifying Jamb Spacing and Frame Positioning 1:12 - Securing the Door Frame with Correct Fastening 1:24 - Installing the Strike Plate and Hinge Locations 1:32 - Preparing and Installing the Door Hinges 1:42 - Hanging the Door and Testing Operation 1:49 - Removing the Door for Taping and Mudding 1:54 - EzyJamb Flush Finish Door Frames Overview 1:59 – Outro ABOUT THIS VIDEO: This step-by-step installation guide demonstrates how to install the EzyJamb Single Rebate Door Jamb for a clean, flush finish door frame without traditional architraves. Learn how to verify opening dimensions, prepare strike plate and hinge locations, assemble the frame, install hardware, and achieve precise door alignment for a seamless architectural finish. Ideal for builders, architects, contractors, and homeowners, the EzyJamb Single Rebate Door Jamb combines the durability of steel door frames with the minimalist appeal of contemporary interior design. Discover how flush finish door frames and concealed hinges can help create modern spaces with uninterrupted sightlines and premium detailing. CONNECT WITH US: Website: https://www.ezconcept.com Instagram: https://instagram.com/ez_concept LinkedIn: https://linkedin.com/company/ezconcept Facebook: https://facebook.com/Ezyjamb Twitter: https://twitter.com/EzConceptGlobal #EzyJambSingleRebateDoorJamb #FlushFinishDoorFrame #ConcealedHinges
Play Video
Play Video
01:30
SlideSet ST060F Installation Guide
Sliding Door Installation Guide — Learn how to install a flush finish sliding door system for a seamless, modern architectural result. In this video, you will learn how to assemble a cavity slider frame, install door hardware, adjust door alignment, and achieve a professional flush finish sliding door installation. EZConcept SlideSet System: https://ezconcept.com.au/products/flush-cavity-sliders/slideset/ EZConcept SlideSet Written Installation Guide: https://ezconcept.com.au/wp-content/uploads/sites/4/2023/09/SlideSet-Metal-Installation-Instructions_AU_0923.pdf TIMESTAMPS: 0:00 - Introduction to the Flush Finish Cavity Slider System 0:03 - Securing the Header and Pocket Assembly 0:12 - Fixing the Frame and Installing the Door Guide 0:18 - Plasterboard and Reveal Installation 0:27 - Preparing the Door and Roller Brackets 0:37 - Adjusting the Wheel Carriage for Correct Door Gaps 0:41 - Installing the Base Bracket and Track Rollers 0:51 - Hanging the Door and Connecting the First Roller 1:03 - Installing the Front Roller and Completing Door Connection 1:14 - Adjusting Door Height and Final Alignment 1:19 - Finishing the Track, Painting, and Completed Installation 1:25 - Flush Finish Cavity Slider System Complete 1:28 - Outro ABOUT THIS VIDEO: Discover how to install a flush finish Sliding Door system using the EZConcept SlideSet cavity slider solution. This step-by-step installation guide covers frame assembly, reveal installation, door preparation, roller carriage adjustment, track installation, and final door alignment to help achieve a clean, contemporary architectural finish. Ideal for builders, architects, renovators, and homeowners, the EZConcept SlideSet system creates a seamless sliding door solution that eliminates bulky trims and complements modern interior design. Learn best practices for installing a flush finish cavity slider while maintaining smooth operation and precise door clearances. CONNECT WITH US: Website: https://www.ezconcept.com Instagram: https://instagram.com/ez_concept LinkedIn: https://linkedin.com/company/ezconcept Facebook: https://facebook.com/Ezyjamb Twitter: https://twitter.com/EzConceptGlobal #SlidingDoor #CavitySlider #FlushFinishDoorSystem
Play Video
Play Video
01:12
AluBase Shadowline Installation Guide
Finish an interior space with the refined design of a shadowline. AluBase® Skirting board is the modern alternative to traditional timber skirting boards. The silhouette traced around the room frames modern designs with elegance. AluBase is equipped to suit modern finishes in residential and commercial environments. US model displayed in video. See more on the AluBase Shadowline at https://ezconcept.com/products/alubase-baseboards/
bottom of page